Pinhole Enlarger
This definitely expands what you can do with the pinhole.
You can adapt an existing enlarger or build your own box. To be truly ideal, you should use a diffuse light source instead of a condenser for the illumination, as the condenser has lenses. There is not much light coming through this contraption, get the brightest light source you can. Aristo, a company who makes cold lights, offers an hi-intensity bulb for their light boxes. Alternatively you could use a point source enlarging head, remove the condensors, and put a piece of flashed opal glass at the negative plane. You could also use a slide projector, opal glass, and cardboard to keep it light tight. [Light tight is important, as any stray light will ruin your print].
Note the optional location for negatives! Something you can’t do on your regular enlarger!
The pinhole to easel distance determines the pinhole size. And since as this distance gets bigger, resolution goes down, you are better off with a wide angle pinhole. see pinhole size to focal length. Expect some really long exposures! (minutes to even hours, depending on the size of the pinhole, brightness of light source and degree of enlargement)
Creative Part:
YOU DON'T NEED TO KEEP THE NEGATIVE FLAT!
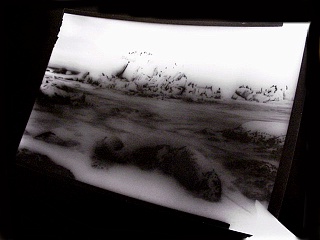
That's right, the advantage of pinhole, that everything is in focus, means just that. If the negative is tilted, curled, etc. it will still be in focus! Note the alternative location for the negative. You can also place a large format negative under the pinhole and tilt it to an extreme, as in the example below. [most of the detail is lost because of the conversion to digital, not because of the pinhole enlarger]
"Take chances, get messy!" says Ms Frizzle of the Magic School Bus [kids program]