Double Slit Cameras
In pinhole photography it's the distance from the pinhole to the film plane that determines the focal length of the pinhole and thus the angle of view. What would happen if the horizontal focal length were different from the vertical focal length? How would you ever achieve this monstrosity?
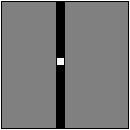
By using two slits at different distances from the film. Interestingly, what the film sees is not a slit but a rectangle, because one slit is vertical and the other is horizontal they overlap.
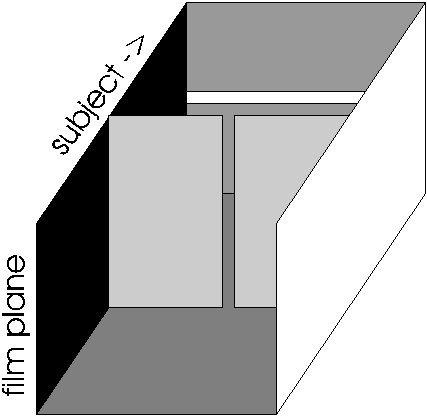
Seen in 3D we get something like:
 The slits above have been exaggerated
to be made visible
The slits above have been exaggerated
to be made visible
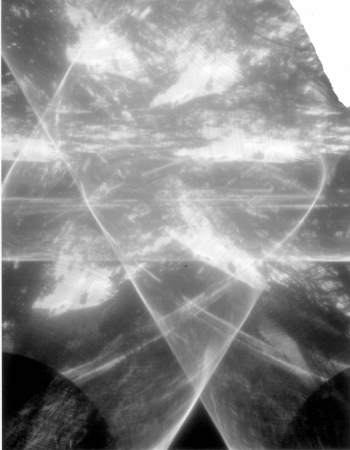
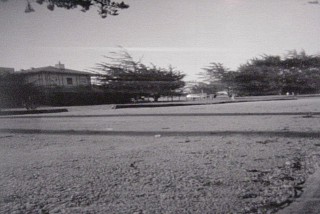 resulting image
Confusing, but:
The vertical slit determines the horizontal focal length and vice-versa.
The width of the opening of the slits is the same as the ideal pinhole diameter. Remember the front and back slits are at different distances/focal lengths, thus different slit widths.
The length of the slit is determined by where it is in relation to the opposing slit and is determined easiest by looking.
The best material to make the slits from is single edged razor blades. BE CAREFUL! Use a measuring loupe to set the distance from the blades. Art supply stores sell razor blades that are 6 inches long for cutting that new "plastic" clay. These work great on the larger cameras.
DUST is the biggest problem with these cameras. A single piece of dust on one slit equals a vertical or horizontal line on the final image.
Because of the sizes involved, it will be easier to implement this camera in 4x5.
Creative:
* uncovering the slit in a time wise fashion and covering again after each portion has received the correct exposure.
* turning the double slit during an exposure [this will have to be designed into the camera]
see: Measurements
Massively Creative:
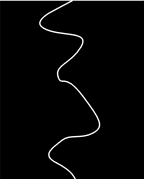
-------------> YOU ARE NOT LIMITED BY STRAIGHT LINES!
In a drawing program such as Corel Draw or Adobe Illustrator, make up your double slit "plate" as white lines on a black background and print to a transparency on a color laser printer [the blacks on a color laser printer are REALLY black, unlike a normal laser printer] OR print black lines on a white background and then copy onto lith film. This will require some experimentation. I would recommend making a camera with removable "plates" to allow for quick changes.
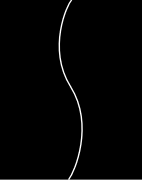 |
 |
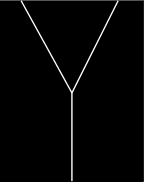 |
| The "S" | The "Squiggle" | The "Y" |
 |
+ | 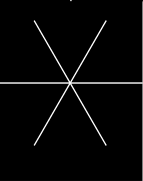 |
= |  |
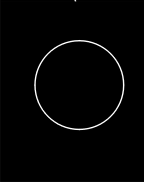
THE DOUBLE ZONE
As per above, but put a zoneslit in instead of each of the slits. See ZONESLIT.GIF
To photograph the zoneslit, see instructions
for the ZONEPLATE. The distances, etc. will be the same.
The only thing that you will have to do is to "extend" the length of the zoneslit
image. This can be done by Xeroxing the printout and taping several together
in a line BEFORE photographing them. Or use the Corel or Adobe drawing program
to print to a color laser printer as per above "Massively Creative"
section.